My wife and I built our house in 2016. In order to cut down on expenses, we opted to try hydroseeding instead of sod. Turns out, it was a pretty good idea. We saved over $1000 dollars and the lawn turned out great. Keep reading to learn more about hydroseeding and see a time lapse of pictures from application to fully established yard in just 28 days!
What is hydroseeding?
Hydroseeding, sometimes referred to as hydraulic mulch seeding or hydromulching, is the process of combining seed, mulch, and water in a large container that is then sprayed onto the planting surface. Additional products such as fertilizer, tackifying agents, co-polymers, and green dye can also be added.
What are the benefits of hydroseeding?
Hydroseeding is a fast, affordable, and reliable way to produce beautiful lawns. It costs less than sod, incorporates moisture retention and erosion control, requires less water, produces deep strong root systems, enables quick seed germination, and can be sprayed on slopped and uneven areas.
How much does hydroseeding cost?
Most contractors charge by the square foot. Prices can vary depending on product and service, however, a basic residential job may cost approximately $0.20 per square foot. Larger jobs are usually priced by the acre.
Example: 5,000 sq ft x $0.20 = $1000
Contractors may charge extra for soil preparation services such as weed control and tilling/grading.
Sod vs Hydroseed vs Seed
Price: Sod > Hydroseed > Seed
- Sod is the most expensive option. The advantage is that you get grass right away.
- Hydroseeding is cheaper than sod but more expensive than dry seeding. Hydroseeded yards tend to develop strong, deep root systems which helps prevent drought.
- Dry seeding is the cheapest option, however, you’ll need to take into consideration the higher water consumption necessary to develop the seeds.
How long until grass grows?
You may begin to see seed germination in as little as 5-7 days and an established lawn in 4-6 weeks.
Keep reading to see pictures of a hydroseed project that went from application to fully established yard in 28 days.
Does the soil need to be prepared ahead of time?
As with any new lawn, success starts with site preparation and soil quality. Contractors may use a variety of different techniques and equipment to grade and prepare the soil. A soil sample may be necessary to determine soil quality. A lack of soil nutrients will always be problematic.
When should you hydroseed?
Hydroseed is typically applied in the spring or fall seasons. The ideal growing temperature is between 60-80 degrees for cool-season grass and 70-90 for warm-season grass.
How much should you water?
You should keep the soil moist by watering lightly 2-4 times per day for the first 2 weeks. After that, you can decrease watering to 1-2 times per day for the next 2 weeks. Try to avoid puddles and standing water on the soil.
It is HIGHLY recommended to have a sprinkler system installed.
Can you Do-It-Yourself?
Maybe. Hydroseeding is typically done by a professional, however, you may be able to do it yourself if you have access to a hydroseeding machine. You may be able to rent one from a local company.
There are some commercial products available such as Hydro Mousse Liquid Lawn. This product is typically used for small patch areas – not complete yard installations.
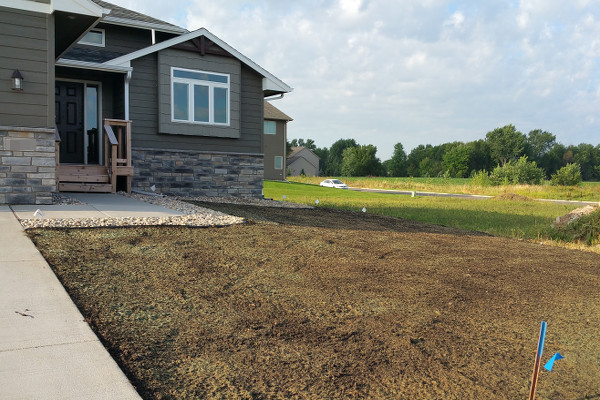
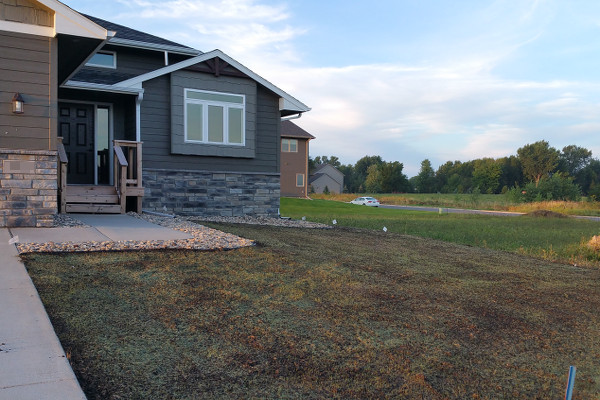
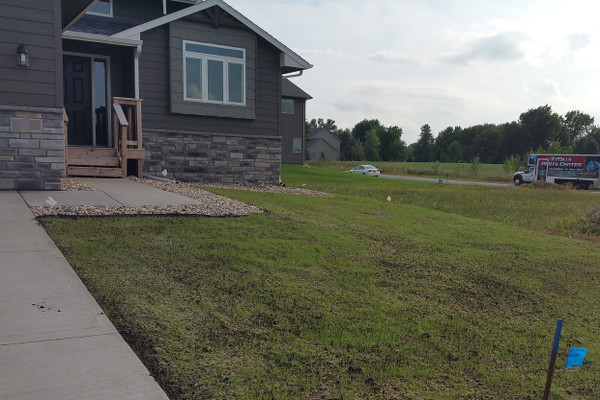
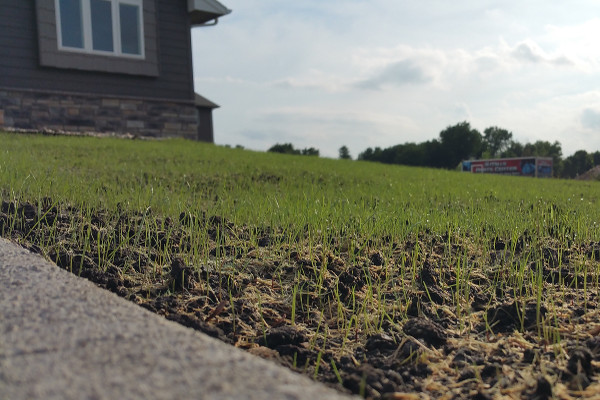
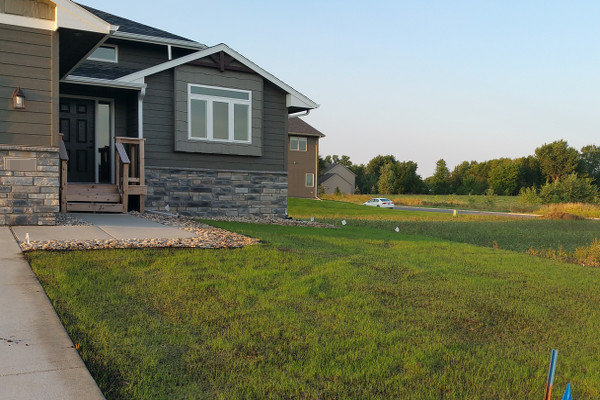
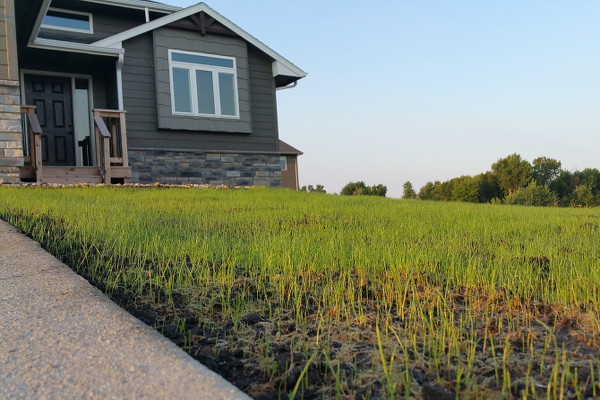
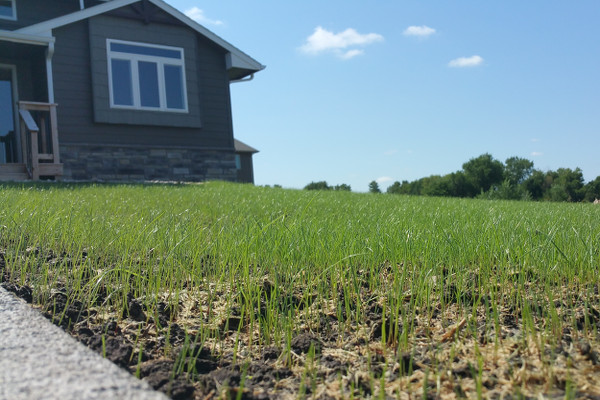
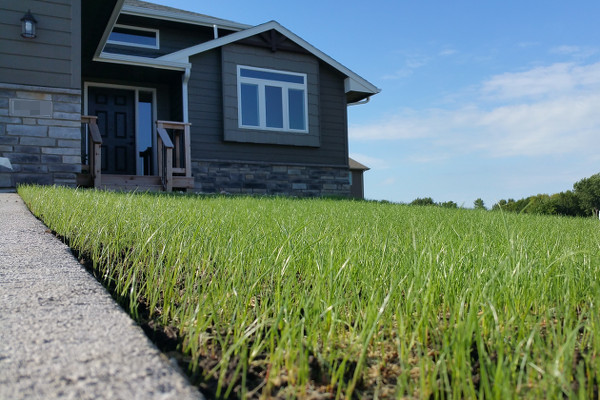
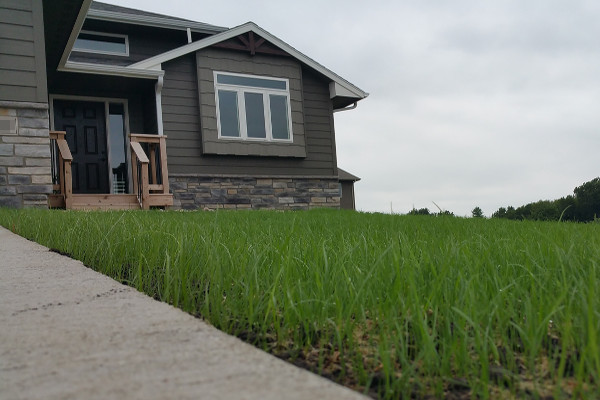
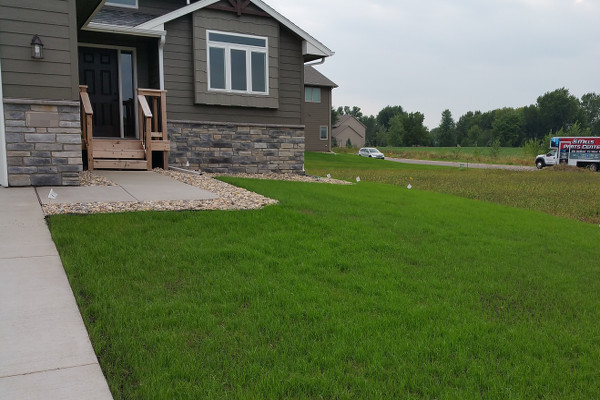
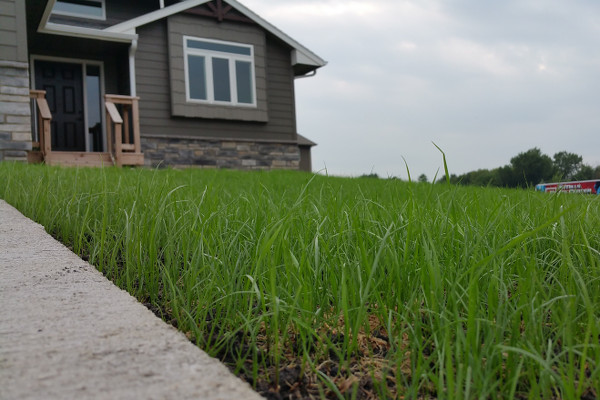
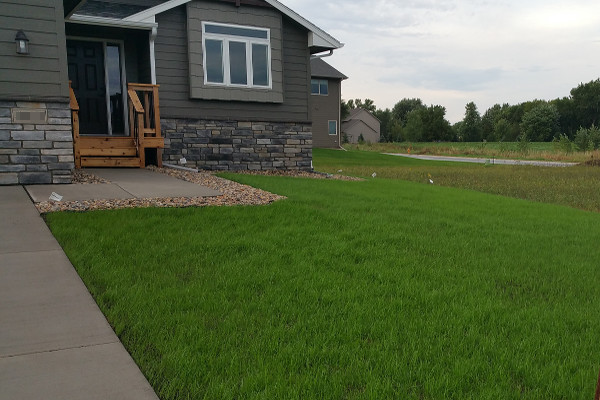
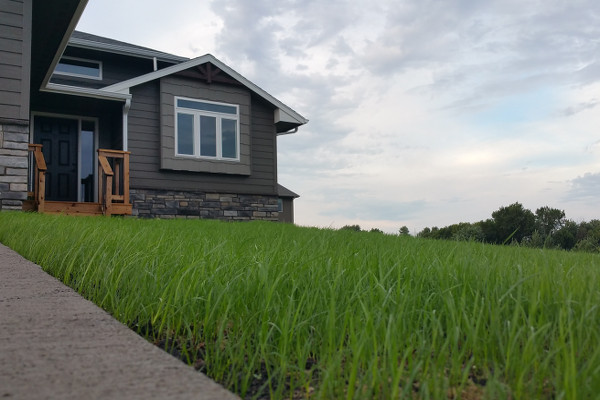
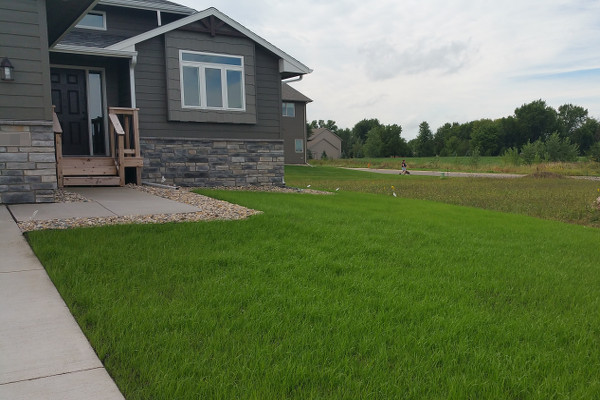
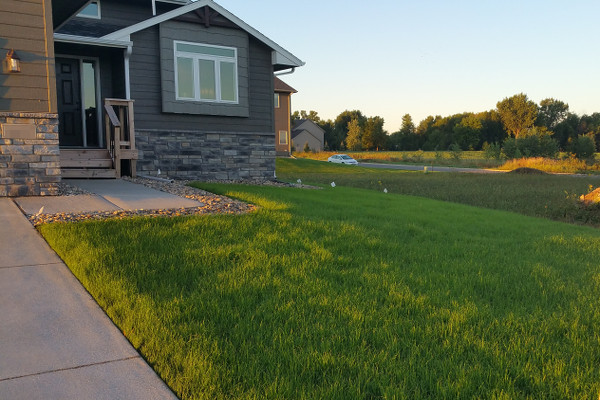
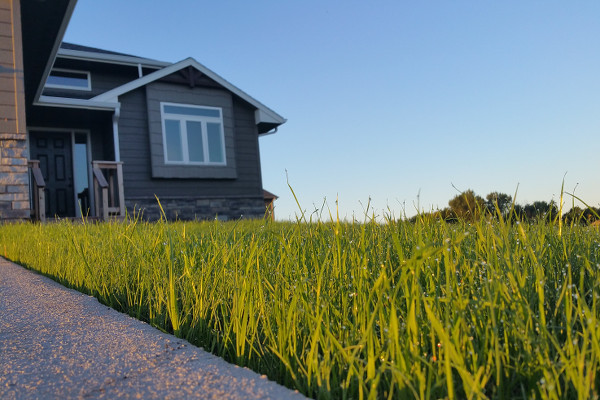
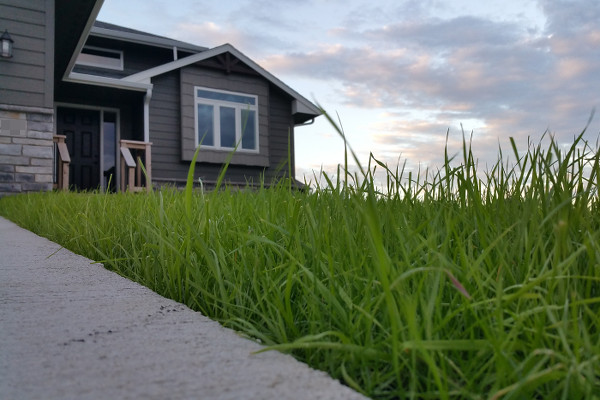
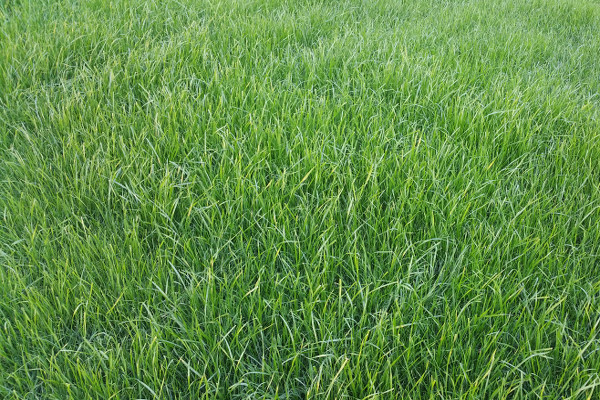
Hydroseed Time Lapse With Pictures
This residential hydroseeding project was started on August 23, 2016 in the upper Midwest. A combination of rye, fescue, and bluegrass seeds were used. Grass began sprouting on day 5 and the first mowing came on day 28.
I took a picture roughly each day, so you can assume each picture is 1 day apart.
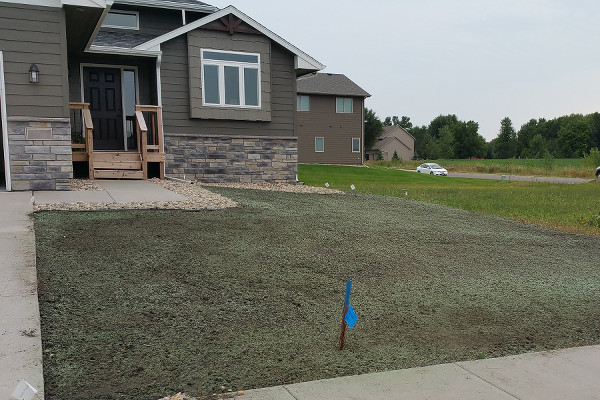
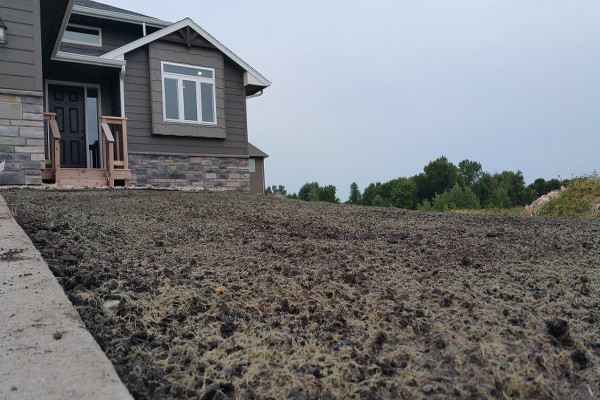
Day 1: I came home from work and the hydroseed was applied.
Day 2: Close up
Day 3: Looks the same
Day 4: Looks the same

Day 4: Close up
Day 5: We’ve been having PERFECT weather lately
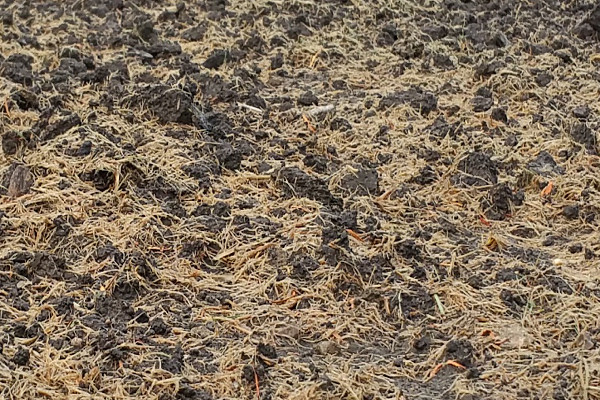
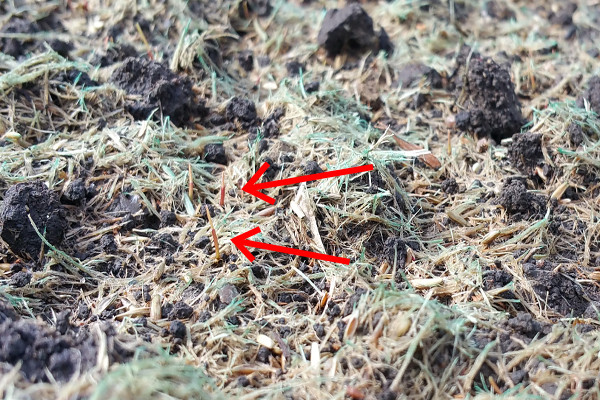
Day 5: Close up. We are already starting to see germination!!
Day 6: Here we go! BIG change over night.
Day 6: Close up. You can’t miss the germination, now.
Day 7
Day 7: Close up
Day 8
Day 8: Close up
Day 9: Close up
Day 10
Day 11

Day 11: Close up
Day 12

Day 12: Close up
Day 13
Day 13: Close up
Day 14
Day 14: Close up
Day 15
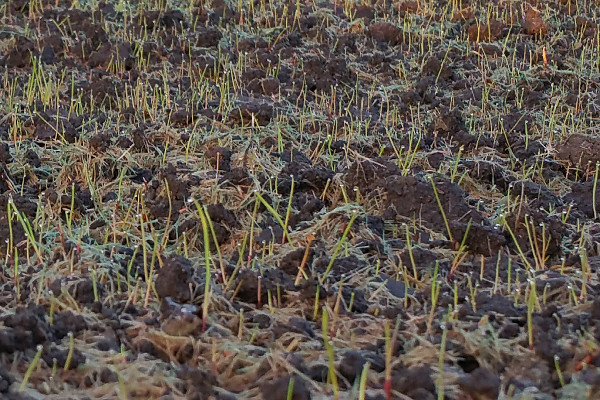
Day 15: The grass is coming in great, but still thin.
Day 16
Day 16: Close up
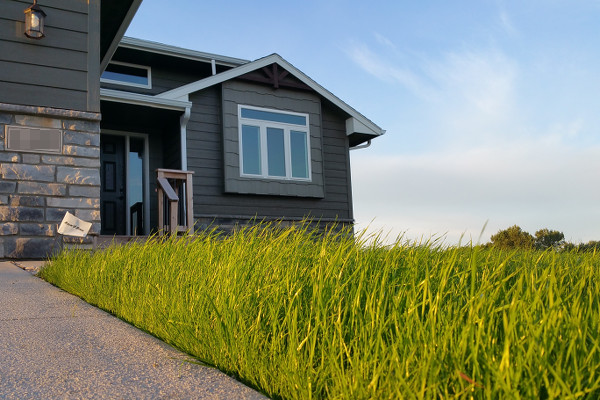
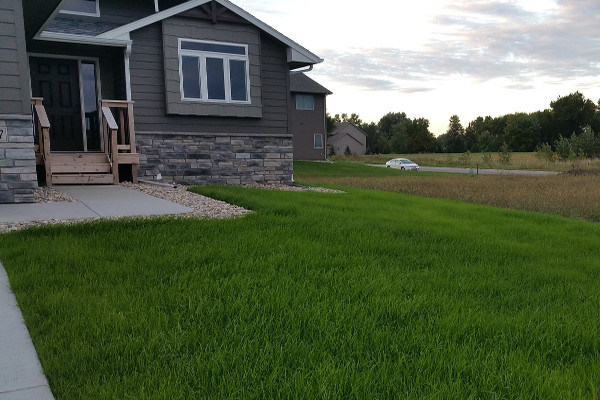
Day 19
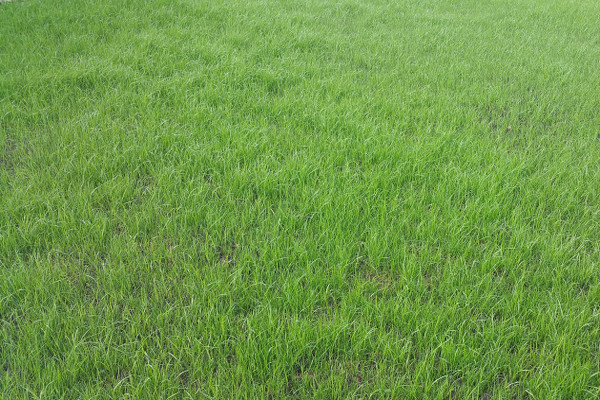
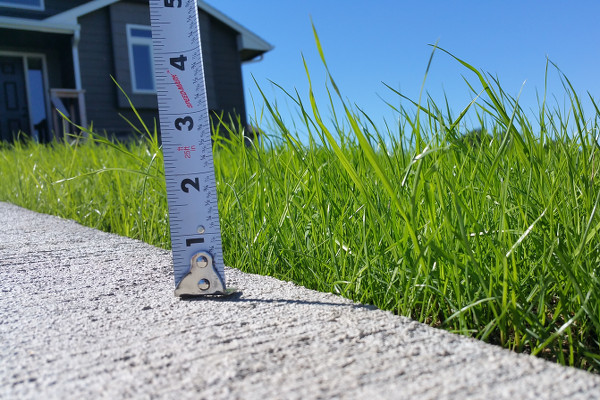
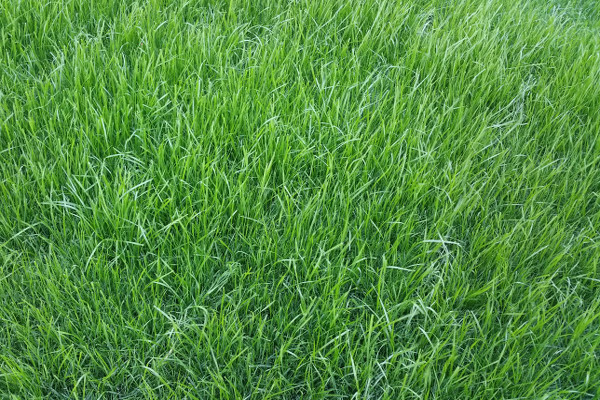
Day 19: Close up. Grass is at least 3 inches by this point.
Day 21
Day 21: Close up
Day 22
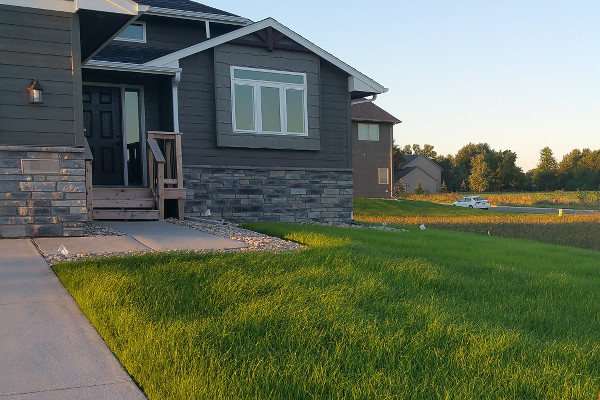
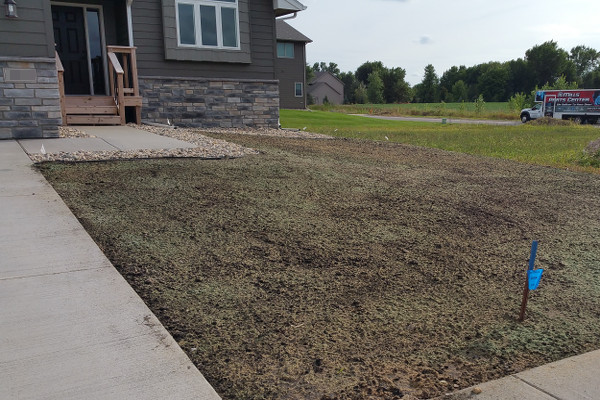
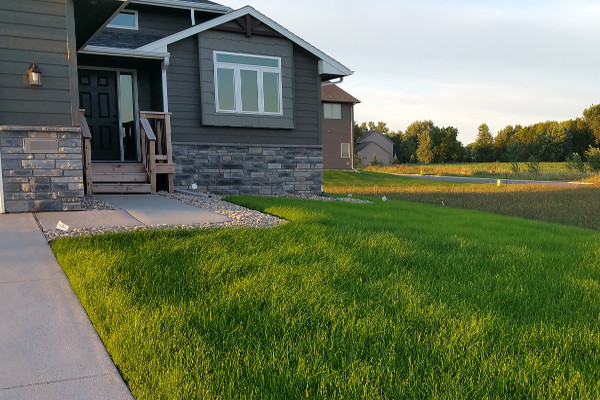
Day 27
Day 27: Close up
Day 27: Close up. Things have thickened up nicely and we’re getting ready to mow.
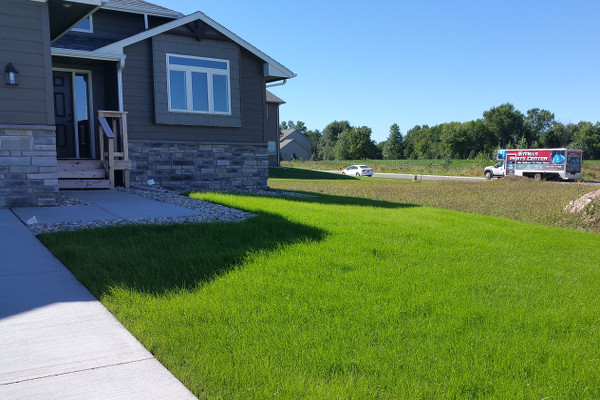
Day 28
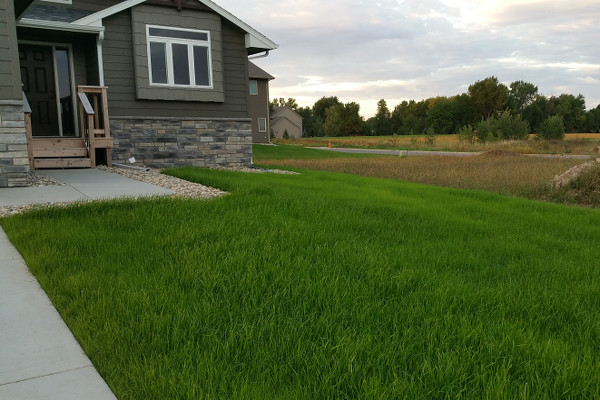
Day 28: Close up. I think it’s time to mow.
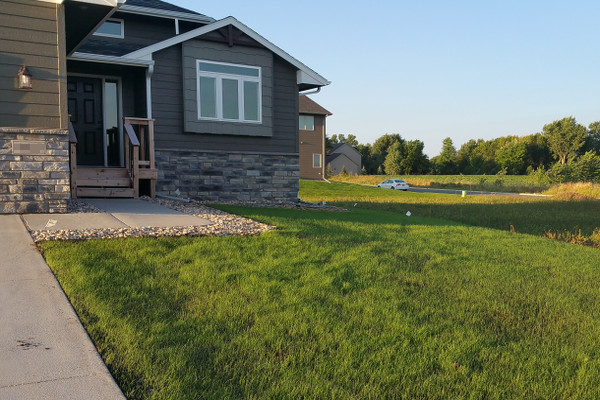
I hope you enjoyed seeing the time lapse of the hydroseed.
UPDATE: I wanted to follow up on this post and update with a few pieces of information. It took consistent and frequent (at least weekly) mowing to get the yard to thicken up to a point that would compare to a professionally sodded yard. I also overseeded with Kentucky Bluegrass during the fall to increase thickness.
Let me know in the comments if you plan to hydroseed!
These pictures are helpful – thank you! We applied hydro seed this week and we are on day 5 today. I’ve been trying to tell if we are watering too much on some
Areas- our yard is not completely flat and so I’m wondering if some of the downhill areas are getting washed out. Regardless- your pictures are helpful!
Great – Thank You
I’m pretty sure my neighbor would wanna check on his front lawn because it looks poorly maintained. I just couldn’t thank you enough for showcasing how inexpensive hydroseeding is. Maybe this is what he needs when he calls a landscaping company for more info.